Enabling DMS Support
DMS Support From the LiveAdmin Utility
The LiveAdmin utility on LiveWire lets you view and configure a variety of settings from the LiveAdmin views in the left-hand navigation pane of the utility. Before you can use the DMS for LiveWire, you must enable DMS support (enabled by default) in the Omni view of the LiveAdmin utility, as described below.
To enable DMS support in the LiveAdmin utility:
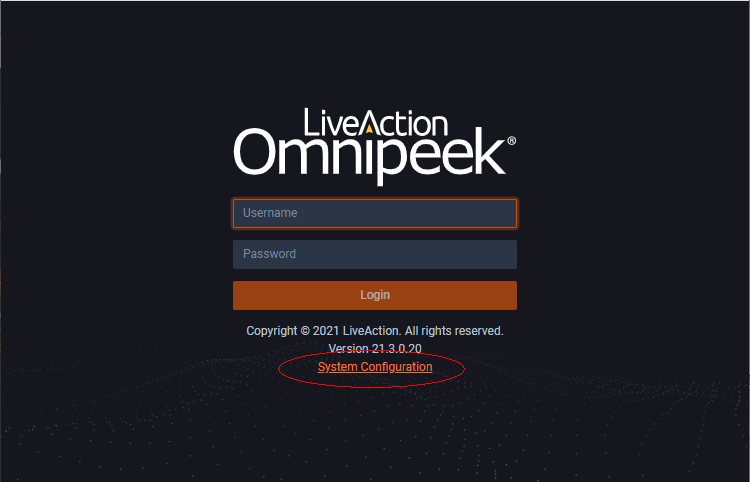
1. From a browser window on a computer connected to the same network as LiveWire, enter the IP address for LiveWire in the URL box as :8443 (e.g., 192.168.1.21:8443). The LiveAdmin Login screen appears.

2. Enter the default password ‘admin’ and click .
NOTE: If you are using Omnipeek Web, you can also access the LiveAdmin Login screen by clicking System Configuration from either the Omnipeek Login screen, or by clicking Configure System from within Omnipeek itself.

3. Go to the Omni view, select the DMS option, and then click the Enable DMS check box to enable DMS support. To learn more about each of the LiveAdmin views, see the LiveWire User Guide.
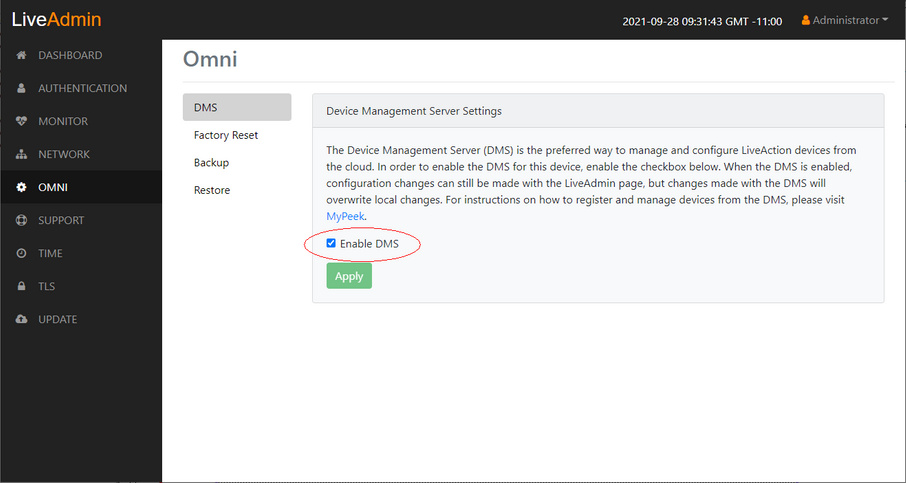
4. Click .
5. Continue to Managing and Configuring LiveWire Devices.