Connecting to a Capture Engine
In order to view packets and data from a Capture Engine, you must first connect to it from Omnipeek.
To connect to a Capture Engine:
1. From the Capture Engines window, click Insert Engine. The Insert Engine dialog appears.
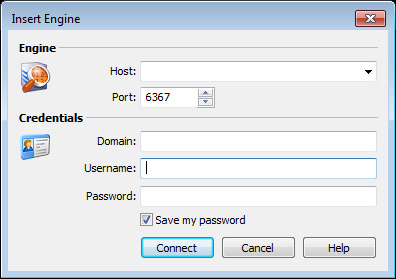
2. Complete the dialog:
• Host: Enter the IP address or DNS name of the engine that you want to connect to.
• Port: Enter the TCP/IP Port used for communications. The default port for the LiveAction WP Omni protocol is 6367.
• Domain: Type the Domain for login to the engine. If the Capture Engine is not a member of any Domain, leave this field blank.
• Username: Type the Username for login to the Capture Engine.
• Password: Type the Password for login to the Capture Engine.
3. Click . When the connection is established, the Capture Engine appears in the list of engines.
NOTE: The Insert Engine dialog will attempt to resolve DNS names, using the DNS server(s) specified in the network settings of the computer from which you are trying to connect.
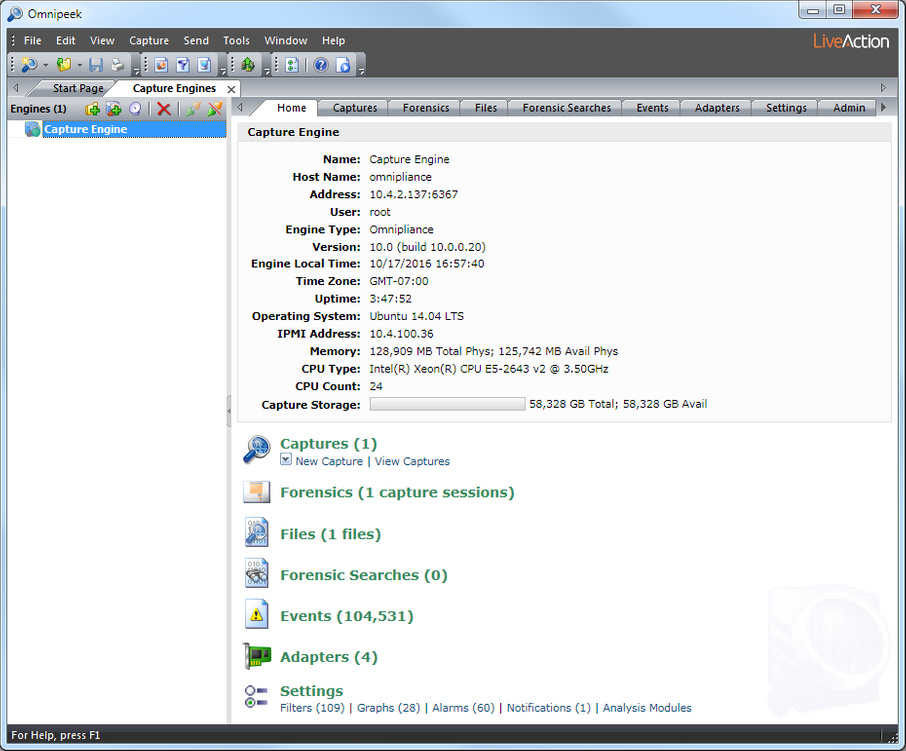
NOTE: If your Capture Engine is installed on a computer that has a configured Intelligent Platform Management Interface (IPMI) port used for remotely accessing and troubleshooting the computer, the Capture Engine Home tab displays an IPMI Address entry that lists the IP address of the IPMI port on the Capture Engine. Clicking the IP address opens your browser and navigates to the IPMI login page.