Configuring a Capture Engine
Run the Capture Engine Wizard of Capture Engine Manager to configure a Capture Engine.
NOTE: To configure Capture Engine for Omnipeek (Linux), you must run Capture Engine Manager from an Omnipeek computer connected to the network.
To configure a Capture Engine using the Capture Engine Wizard:
1. On the menu, click . The Capture Engine Manager appears.
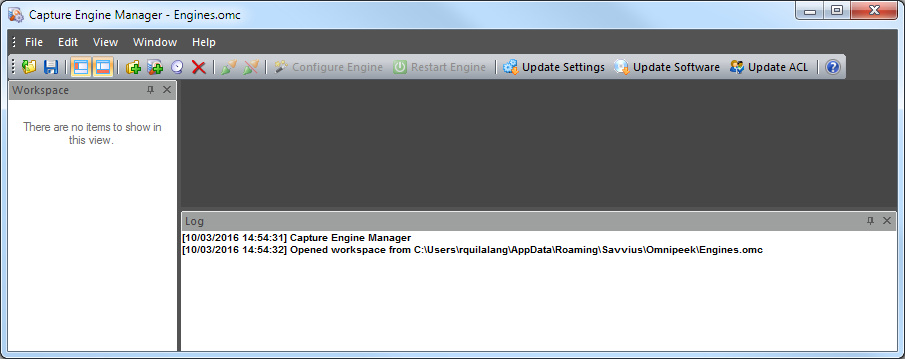
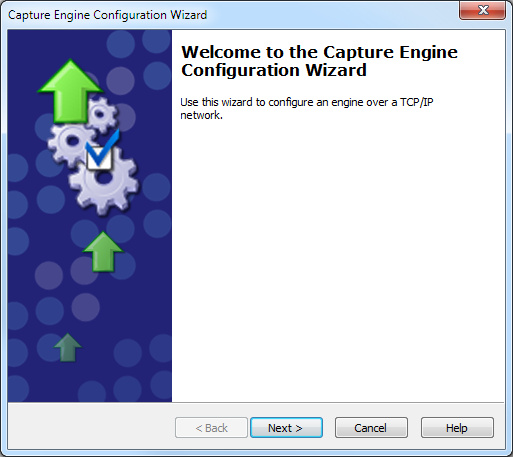
2. Connect to a Capture Engine in the Workspace area and click in the toolbar. The Capture Engine Configuration Wizard appears.
NOTE: You can also start the Capture Engine Wizard directly from the Capture Engines window in Omnipeek. Simply right-click a connected Capture Engine in the Capture Engines window, and select Configure Engines…. The Capture Engine Configuration Wizard appears.
3. Configure the Capture Engine settings:
• General: These settings set the name, IP address and port of a Capture Engine, capture restart, and location of the Data folder. All packet files saved during capture are stored in the Data folder.
• Security: These settings set encryption, third-party authentication, and data compression for the data stream between Omnipeek and a Capture Engine. You can also enable auditing, creating a log of Capture Engine access events.
• Access Control: These settings lets you control access to a Capture Engine and its features by associating users (username and password pairs defined in the operating system security settings) with classes of tasks on the Capture Engine called Policies. Policies include such tasks as starting or modifying a capture created by another user, viewing results, and so forth.
For detailed instructions on how to configure Capture Engine settings, see the Capture Engine for Omnipeek Getting Started Guide or the online help in the Capture Engine Manager application.