DMS Templates tab
The DMS Templates tab displays the templates associated with your account. Templates allow you to configure settings independent of a particular device, and then apply the template, and thus the settings, to a device, or multiple devices in bulk at the same time. A description of each of the available options and settings in the Templates tab is provided below:

Add Template
Click the button to display the ADD TEMPLATE dialog to add a new template to the configuration.
Settings

• Template Version: Click to select the version of the template you are configuring.
• Template Name: Type a name for the template.
• Timezone: Click to select the timezone for the template.
• NTP Server: Enter the address of any NTP servers to add to the configuration, and then click .
• NTP Servers: Displays the list of NTP servers added to Settings. You can click the icon to edit an NTP server in the list, or click the icon to remove an NTP server from the list.
Authentication
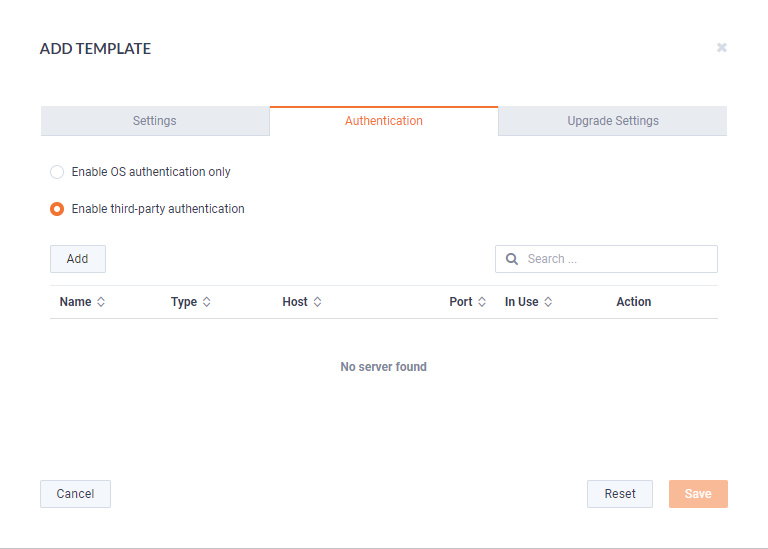
• Enable OS authentication only: Select this option to use the local OS authentication.
• Enable third-party authentication: Select this option to use TACACS+ or RADIUS authentication. If this option is selected, click to configure the new authentication setting.
• Add: Click to add a new authentication setting. You will need to configure the new authentication setting.
• Search: Enter the text string to search the list of authentication settings.
• Name: Displays the name of the authentication setting.
• Type: Displays the type of authentication, which can be either ‘RADIUS’ or ‘TACACS+.’
• Host: Displays the host of the authentication setting.
• Port: Displays the port of the authentication setting.
• Secret: Displays the secret key of the authentication setting.
• In Use: Displays whether or not the authentication setting is in use.
• Action: Click the Edit icon to edit the authentication setting, or click the Trash icon to delete the authentication setting.
• Save: Click to save the authentication setting.
Upgrade Settings
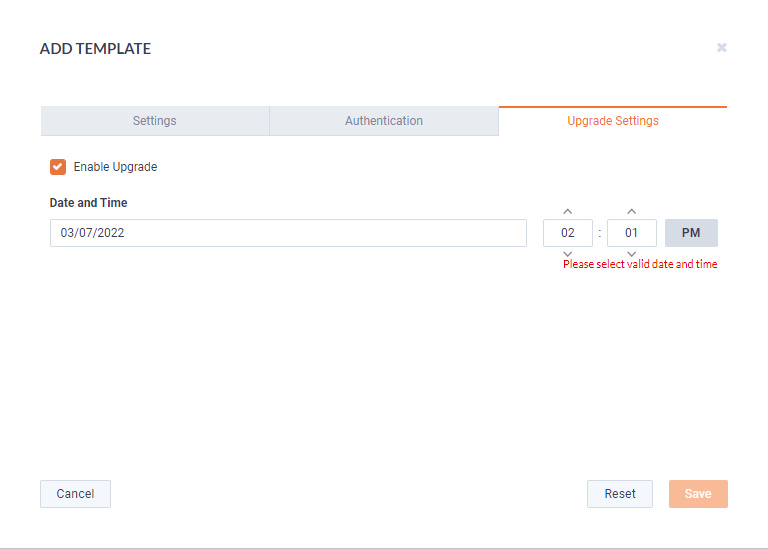
• Enable Upgrade: Select to enable the upgrade on the selected templates. If you enable the upgrade, you are presented with settings to specify the date and time the upgrade should take place.
Edit
Click the button to edit the selected template. See also the Settings, Authentication, Upgrade Settings sections in Add Template.
Delete
Click the button to delete the selected template.
Share
Click the button to share the selected template with other users who manage and configure appliances. You will need to add a user by completing the Manage Users dialog.
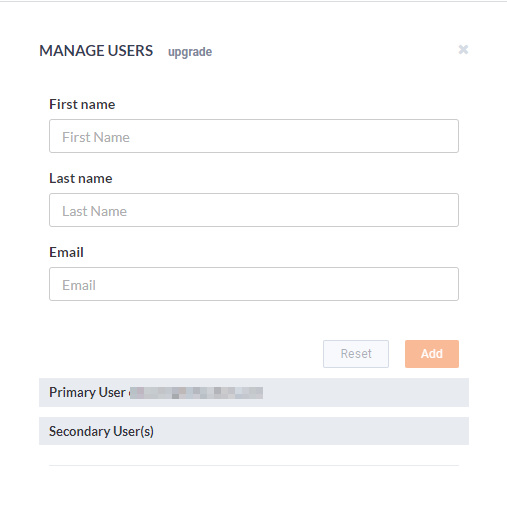
• First Name: Type the first name of the user.
• Last Name: Type the last name of the user.
• Email: Type the email address of the user.
• Reset: Click to clear the Manage User values.
• Add: Click to add the user to the list of secondary users.
• Primary User: Displays the primary user of the device when the device was registered with LiveAction. If multiple appliances are selected in the list of devices, the Primary User is not displayed.
• Secondary User(s): Displays any secondary users assigned to the device. If multiple appliances are selected in the list of devices, the Secondary User(s) are not displayed.
Template column headings
Descriptions of the columns displayed in the list of templates are provided below.
TIP: Below each of the column headings is a text box you can use to filter the templates displayed in the list of templates. To filter using the text box, simply enter a text string to display the templates that match the text string.

• Template Name: Displays the name of the template. Click the name to display details about the template.
• Version: Displays the version number of the template.
• Timezone: Displays the time zone of the template.
• Shared: Displays the users that have been shared with the device. Shared users can fully configure a device from DMS.
• Owner: Displays the owner of the device. There can only be one owner of the device.